Raspberry pi watchdog

Raspberry pi watchdog

Having run a raspberry pi as part of my custom weather station set up for many years, I got sick of having to manually restart the pi when it fritzed out, which seemed to happen every few weeks of so.

I did some googling and found out that I wasn’t the only one who was annoyed by this and found that hardware solution had been developed.

Hardware solution

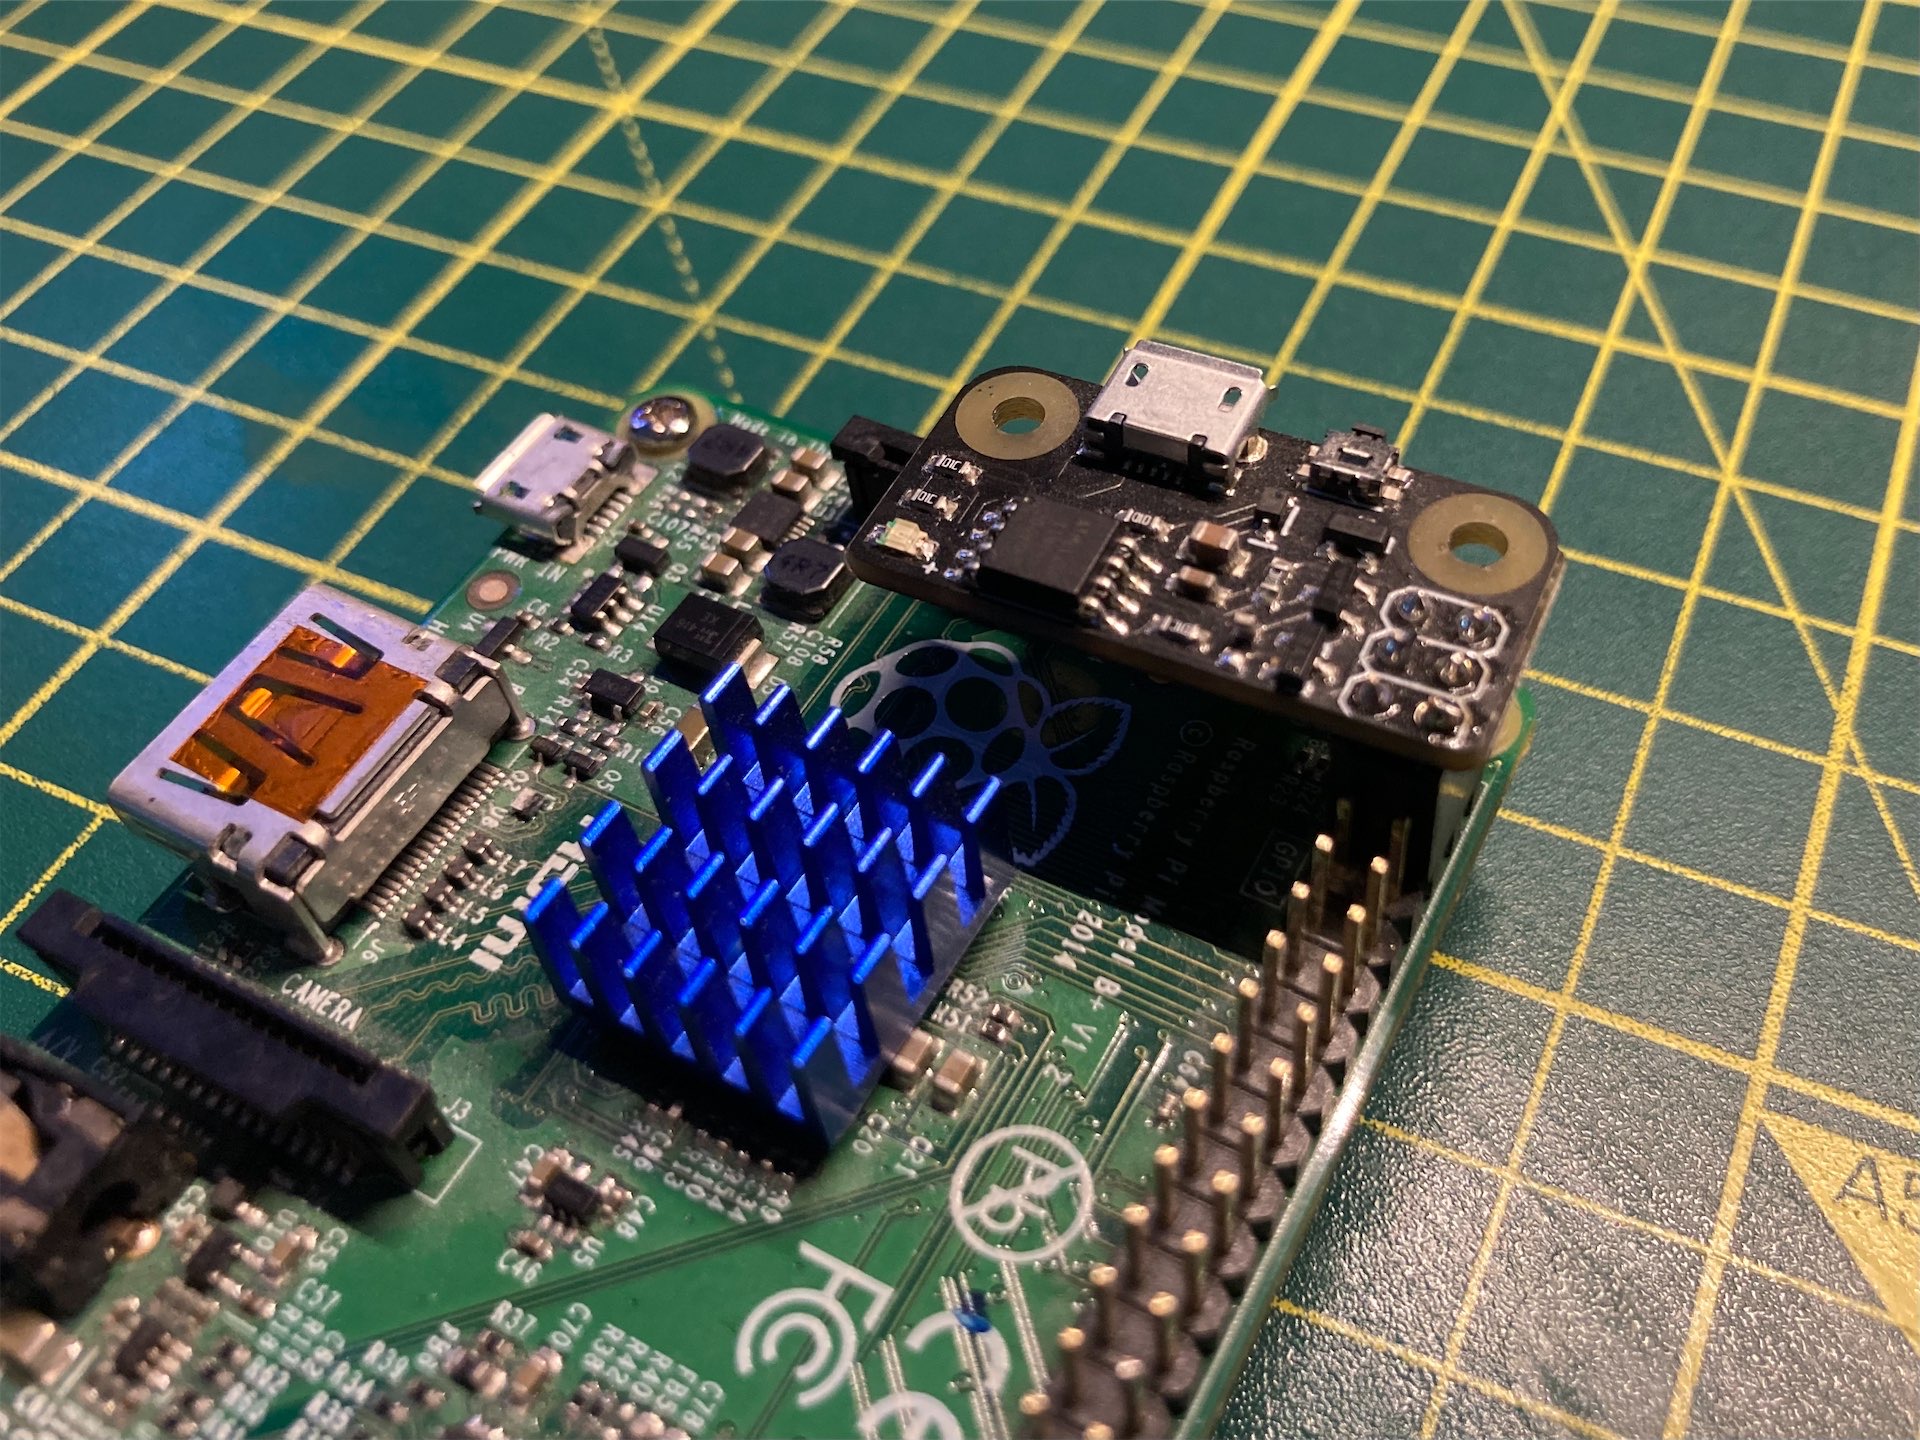
I found the PiWatcher by a company called Omzlo - https://www.omzlo.com/articles/the-piwatcher

I used this without issue for a good few years and it seemed to work with no problems at all. I then when looking for something unrelated came across an article that discussed a secret built in hardware watchdog that all the pi’s had!

Inbuilt software solution

To set up the hardware watchdog, follow these steps. This assumes you are using Raspberry pi OS.

OS set up

sudo nano /etc/systemd/system.conf

# add these to the end of the file
RuntimeWatchdogSec=15
RebootWatchdogSec=2min

# Reboot after saving the edits

Install and configure the application

sudo apt install watchdog
sudo nano /etc/watchdog.conf

# clear all the entires in the file and list these

realtime                = yes
priority                = 1
watchdog-device         = /dev/watchdog
watchdog-timeout        = 15
max-load-1              = 24
# if your device isn't going to be connected to a network wirelessly - I'd not include this one. 
interface               = wlan0

# Save changes and exit nano

Enable and startup the service

sudo systemctl enable watchdog
sudo systemctl start watchdog
Conky set up

Conky set up

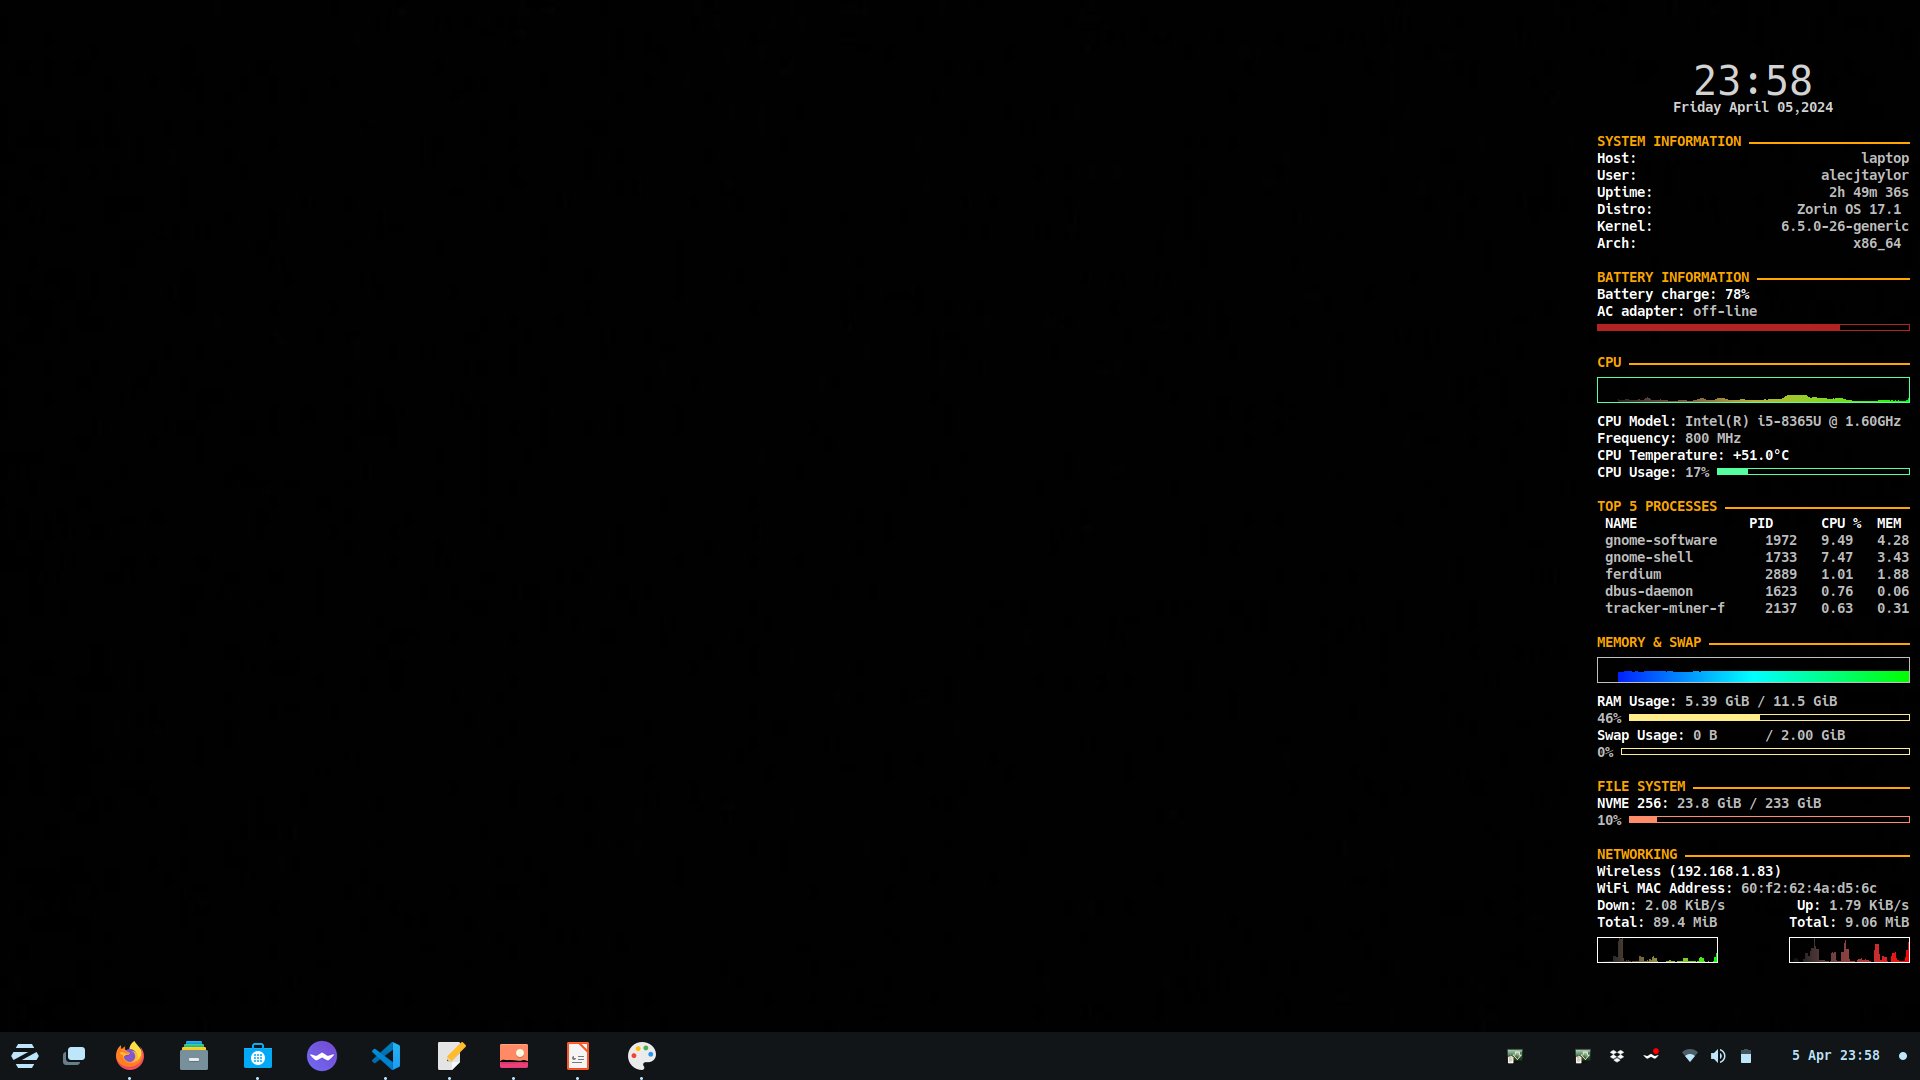
Conky has been around on the linux desktop (and ports to mac) for 15+ years now. A handy bit of screen candy that fills a similar job to neofetch but on the desktop envrionement. Some people spend a lot of time ricing/tweaking their configuration to match with the rest of their system. My config is neither pretty or perfect, but it is functional for me and shows me what I need to know on my system.

As is that tradition, Conkyrc files are often shared and modified online - this is my verison - with a few changes to meet my requirements.

This version of configuration is run on my laptop that is either:

  1. Docked to my main display, power, ethernet and other accessories via usb C.
  2. On battery power away from a charger

Main change from a normal config is a collection of if statement to show certain bits of data depending on situation

Ethernet

This bit of code detects if there is an active ethernet category and if there is, displays the elements within the if statement.

${if_existing  /sys/class/net/enx3448ed762883/address} 
${color0}Wired (${addr enx3448ed762883})
${color0}Ethernet MAC Address: $color${execi 99999 cat /sys/class/net/enx3448ed762883/address }
${color0}Down:$color ${downspeed enx3448ed762883}/s ${alignr}${color0}Up:$color ${upspeed enx3448ed762883}/s
${color0}Total:$color ${totaldown enx3448ed762883} ${alignr}${color0}Total: $color${totalup enx3448ed762883}
${color0}${downspeedgraph enx3448ed762883 25,120 000000 00ff00} ${alignr}${upspeedgraph enx3448ed762883 25,120 000000 ff0000}$color
${stippled_hr 2}$endif

Battery Bar colour

A long nested if to show a different colour of battery bar based on the percentage of the battery, colours will need to be set to what is appropriate for your own set up. Note the slash on the end of the line, this allows the configuration line to contine on the line below for readability but conky will read all this text as a a continious line. Handy unix trick.

${if_match ${battery_percent} <= 20}${if_match ${battery_percent} >=1}${color2}${battery_bar}$color${endif}${endif}\
${if_match ${battery_percent} <= 40}${if_match ${battery_percent} >=20}${color1}${battery_bar}$color${endif}${endif}\
${if_match ${battery_percent} <= 70}${if_match ${battery_percent} >=40}${color0}${battery_bar}$color${endif}${endif}\
${if_match ${battery_percent} <= 80}${if_match ${battery_percent} >=70}${color0}${battery_bar}$color${endif}${endif}\
${if_match ${battery_percent} <= 100}${if_match ${battery_percent} >=80}${color7}${battery_bar}$color${endif}${endif}

Full script content

This is likley to change at some point, I may come back and update this if needed

##################### references #######################
### - https://conky.sourceforge.net/variables.html - ###
######### - https://www.mankier.com/1/conky - ##########
########################################################

#### ToDo #####

# Spotify link
# https://github.com/Madh93/conky-spotify

# -------------------- Conky's Run Time Parameters -------------------- #
update_interval 1                       # Conky update interval in seconds
total_run_times 0                       # Number of updates before quitting.  Set to zero to run forever.
no_buffers yes                          # Subtract file system buffers from used memory?
cpu_avg_samples 5                       # Number of cpu samples to average. Set to 1 to disable averaging
net_avg_samples 5                       # Number of net samples to average. Set to 1 to disable averaging

# -------------------- Conky's General Look &amp; Feel -------------------- #
# --- defualt values --- #
default_color grey                      # Default color and border color
default_bar_size 0 6                    # Specify a default width and height for bars.
default_gauge_size 25 25                # Specify a default width and height for gauges.
default_graph_size 0 25                 # Specify a default width and height for graphs.
default_outline_color green             # Default border and text outline color
default_shade_color yellow              # Default border and text shading color

# --- predefined colors - http://www.kgym.jp/freesoft/xrgb.html --- #
color0 FFFFFF                           # white
color1 FFA500                           # orange
color2 B22222                           # firebrick
color3 696969                           # dim gray
color4 D3D3D3                           # light gray
color5 2F4F4F                           # dark slate gray
color6 FFEC8B                           # light golden rod
color7 54FF9F                           # sea green
color8 FF8C69                           # salmon
color9 FFE7BA                           # wheat

# --- window layout &amp; options --- #
own_window true                          # Conky creates its own window instead of using desktop
own_window_type desktop                  # If own_window is yes, use type normal, desktop, or override
own_window_transparent false             # Use pseudo transparency with own_window?
own_window_colour black                  # If own_window_transparent is no, set the background colour
own_window_argb_visual true
own_window_argb_value 100
double_buffer yes                       # Use double buffering (reduces flicker)
use_spacer right                        # Adds spaces to stop object from moving
maximum_width 600                       # Maximum width of window in pixels
own_window_hints undecorated,below,sticky,skip_taskbar,skip_pager

# --- window placment --- #
alignment top_right

# --- borders, margins, and outlines --- #
draw_graph_borders yes                  # Do you want to draw borders around graphs
border_inner_margin 9                   # Window's inner border margin (in pixels)
border_outer_margin 5                   # Window's outer border margin (in pixels)
gap_x 10                                # Gap between borders of screen and text (on x-axis)
gap_y 40                                # Gap between borders of screen and text (on y-axis)
border_width 10                         # Window's border width (in pixels)

# --- Text --- #
draw_outline no                         # Do you want ot draw outlines
draw_shades no                          # Do you want to draw shades
draw_borders no                         # Do you want to draw borders around text
uppercase no                            # set to yes if you want all text to be in uppercase
use_xft yes                             # use the X FreeType interface library (anti-aliased font)
xftfont Hack:size=10.5:weight=bold    # Xft font to be used

# -------------------- Conky's Displayed System Monitoring Parameters ------------------- #
TEXT
# Title / Banner message
${color4} 
${alignc}${font Hack:size=30}${time %H:%M}${font}
${alignc}${time %A} ${time %B} ${time %d},${time %Y}
$color 
# General system information
${color1}SYSTEM INFORMATION ${hr 2}$color
${color0}Host: ${alignr}$color$nodename
${color0}User: ${alignr}$color${execi 999 whoami}${color}
${color0}Uptime: ${alignr}$color$uptime
${color0}Distro: ${alignr}$color${execi 999 lsb_release -ds}$color 
${color0}Kernel: ${alignr}$color$kernel
${color0}Arch: ${alignr}$color$machine 

${color1}BATTERY INFORMATION ${hr 2}$color
${color0}Battery charge: ${battery_percent}% $color
${color0}AC adapter: $color$acpiacadapter
${if_match ${battery_percent} <= 20}${if_match ${battery_percent} >=1}${color2}${battery_bar}$color${endif}${endif}\
${if_match ${battery_percent} <= 40}${if_match ${battery_percent} >=20}${color1}${battery_bar}$color${endif}${endif}\
${if_match ${battery_percent} <= 70}${if_match ${battery_percent} >=40}${color0}${battery_bar}$color${endif}${endif}\
${if_match ${battery_percent} <= 80}${if_match ${battery_percent} >=70}${color0}${battery_bar}$color${endif}${endif}\
${if_match ${battery_percent} <= 100}${if_match ${battery_percent} >=80}${color7}${battery_bar}$color${endif}${endif}

# CPU information
${color1}CPU ${hr 2}$color
${color7}${cpugraph 000000 00ff00}$color
${color0}CPU Model: $color${execi 999 cat /proc/cpuinfo | grep 'model name' | awk '{ print $4 " " $6 " " $8 " " $9 }' | head -n1}
#${color0}Avg. Load: $color $loadavg
${color0}Frequency: $color$freq MHz
${color0}CPU Temperature: ${execi 5 sensors | grep "Package" | awk '{ print $4}'}
${color0}CPU Usage:$color $cpu% ${color7}${cpubar}

# Top running processes
${color1}TOP 5 PROCESSES ${hr 2}$color
${color0} NAME              PID      CPU %  MEM$color
 ${top name 1} ${top pid 1} ${top cpu 1} ${top mem 1}
 ${top name 2} ${top pid 2} ${top cpu 2} ${top mem 2}
 ${top name 3} ${top pid 3} ${top cpu 3} ${top mem 3}
 ${top name 4} ${top pid 4} ${top cpu 4} ${top mem 4}
 ${top name 5} ${top pid 5} ${top cpu 5} ${top mem 5}

# Memory and swap space untilization
${color1}MEMORY & SWAP ${hr 2}$color
${memgraph 0000ff 00ff00}$color
${color0}RAM Usage: ${color}$mem / $memmax
$memperc% ${color6}${membar}$color
#${stippled_hr 2}
${color0}Swap Usage: ${color}$swap / $swapmax
$swapperc% ${color6}${swapbar}$color

# File System utilization
${color1}FILE SYSTEM ${hr 2}$color
${color0}NVME 256:$color ${fs_used /} / ${fs_size /}
${fs_used_perc /}% ${color8}${fs_bar /}$color

# Ethernet utilization
${color1}NETWORKING ${hr 2}$color ${if_existing  /sys/class/net/enx3448ed762883/address} 
${color0}Wired (${addr enx3448ed762883})
${color0}Ethernet MAC Address: $color${execi 99999 cat /sys/class/net/enx3448ed762883/address }
${color0}Down:$color ${downspeed enx3448ed762883}/s ${alignr}${color0}Up:$color ${upspeed enx3448ed762883}/s
${color0}Total:$color ${totaldown enx3448ed762883} ${alignr}${color0}Total: $color${totalup enx3448ed762883}
${color0}${downspeedgraph enx3448ed762883 25,120 000000 00ff00} ${alignr}${upspeedgraph enx3448ed762883 25,120 000000 ff0000}$color
${stippled_hr 2}$endif
# Wireless networking
${color0}Wireless (${addr wlo1})
${color0}WiFi MAC Address: $color${execi 99999 cat /sys/class/net/wlo1/address }
${color0}Down:$color ${downspeed wlo1}/s ${alignr}${color0}Up:$color ${upspeed wlo1}/s
${color0}Total:$color ${totaldown wlo1} ${alignr}${color0}Total: $color${totalup wlo1}
${color0}${downspeedgraph wlo1 25,120 000000 00ff00} ${alignr}${upspeedgraph wlo1 25,120 000000 ff0000}$color
Neofetch set up

Neofetch set up

Neofetch is a handy, slightly cheesy utility that gives some useful summary info about any *nix system from one command in the terminal. Many people, including myself like to have this pop up each time they launch a terminal instance. This behaviour is handy if you have multiple systems that you are accessing via SSH and want to be reminded of where you are in the world!

On modern, powerful hardware, neofetch pops up in a fraction of a second with its handy little summary, however, on lower powered hardware (raspberry pi’s etc) you may find yourself waiting several seconds while it churns away to find out the relevant information. Obviously, this is an unacceptable state of affairs and needs resolving.

There are many ways that we can get round this issue, but the one I have settled on is to run an instance of neofetch every few minutes to update a cached file that is cat’d on start up of a terminal instance. This results in an instant display on any system I have tried so far.

To follow the steps below, you’ll need to have neofetch installed, it is in most repos and can be installed via homebrew on a mac.

First Job

Script to create cache of neofetch output.

Create a hidden shell script in your home directory. Enter the following commands into a terminal.

sudo apt install neofetch
touch .nf.sh
chmod +x .nf.sh
nano .nf.sh

now paste the following into your newly created shell script (swapping %USER with your username)

#!/bin/bash
/usr/bin/neofetch >| /home/$USER/.nf

or if you are on a mac

#!/bin/bash
/usr/local/bin/neofetch >| /Users/$USER/.nf

Second Job

Set up a cron entry to run every ‘X’ minutes to run the above script

You will need to run this command:

 crontab -e 

So that you enter the edit mode of your cron config files so that we can add the text below. If given the option, select the nano option to edit the file, the world doesn’t need more VIM evaglesits.

n.b. swapping %USER with your username

* * * * * '/home/$USER/.nf.sh'
@reboot '/home/$USER/.nf.sh'

or if you are on a mac

* * * * * '/Users/$USER/.nf.sh'
@reboot '/Users/$USER/.nf.sh'

Final job

Edit your .bashrc file

In linux and assuming you are running a bash shell, you’ll need to add a command at the end of the .bashrc file to display the content of the cached neofetch output each time a new terminal session is started. If you are on a mac, I’d suggest adding this to a .bash_profile file if it exists, or you can create your own .bashrc if you like. *note if you are running a ZSH shell on mac, you’ll need to update your appropriate zsh config files which I think is the .zshrc

cat .nf 2> /dev/null

This is a handy bit of syntax that redirects any errors to /dev/null, which in practice hides them from appearing in the terminal. This keeps things tidy just in case there is an issue with something in the chain.

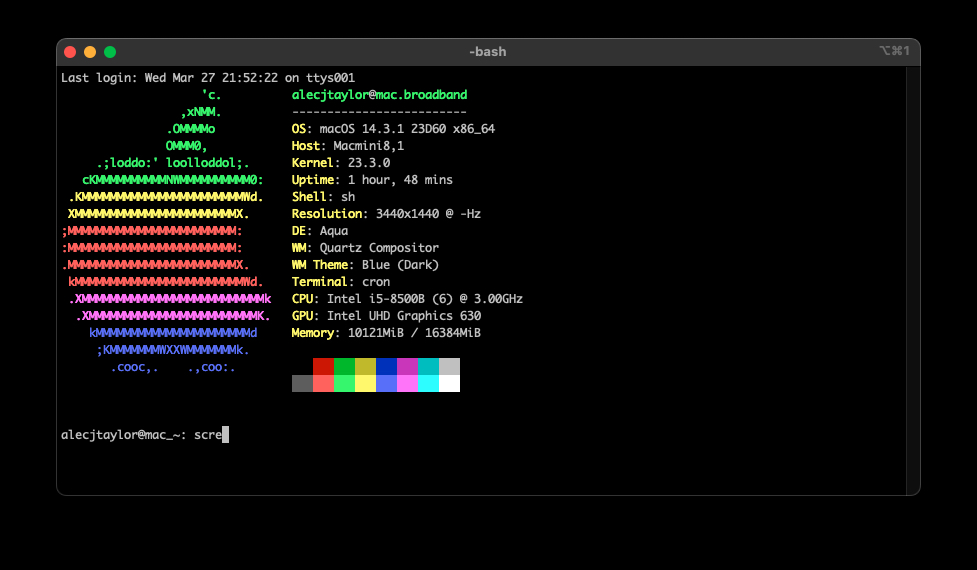
If all has gone well, you should now get something like this each time you open a terminal or remote into the system.

Mac Neofetch
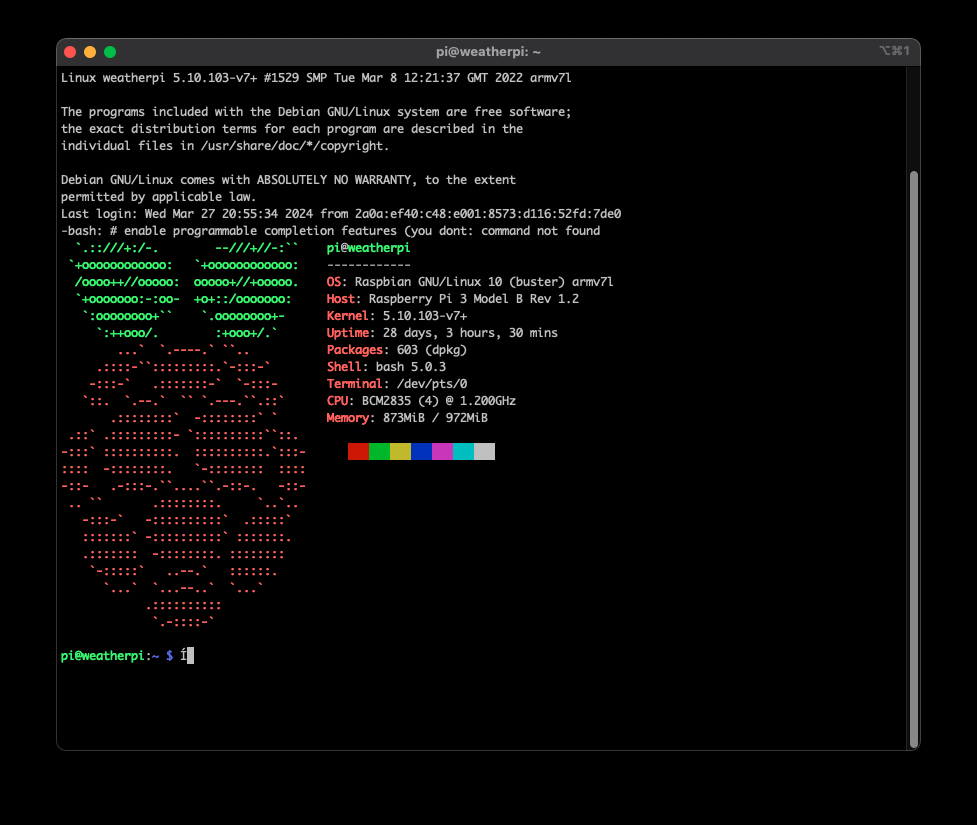
Sample of raspberry pi neofetch output